About
Please note that this article is still a work in progress.
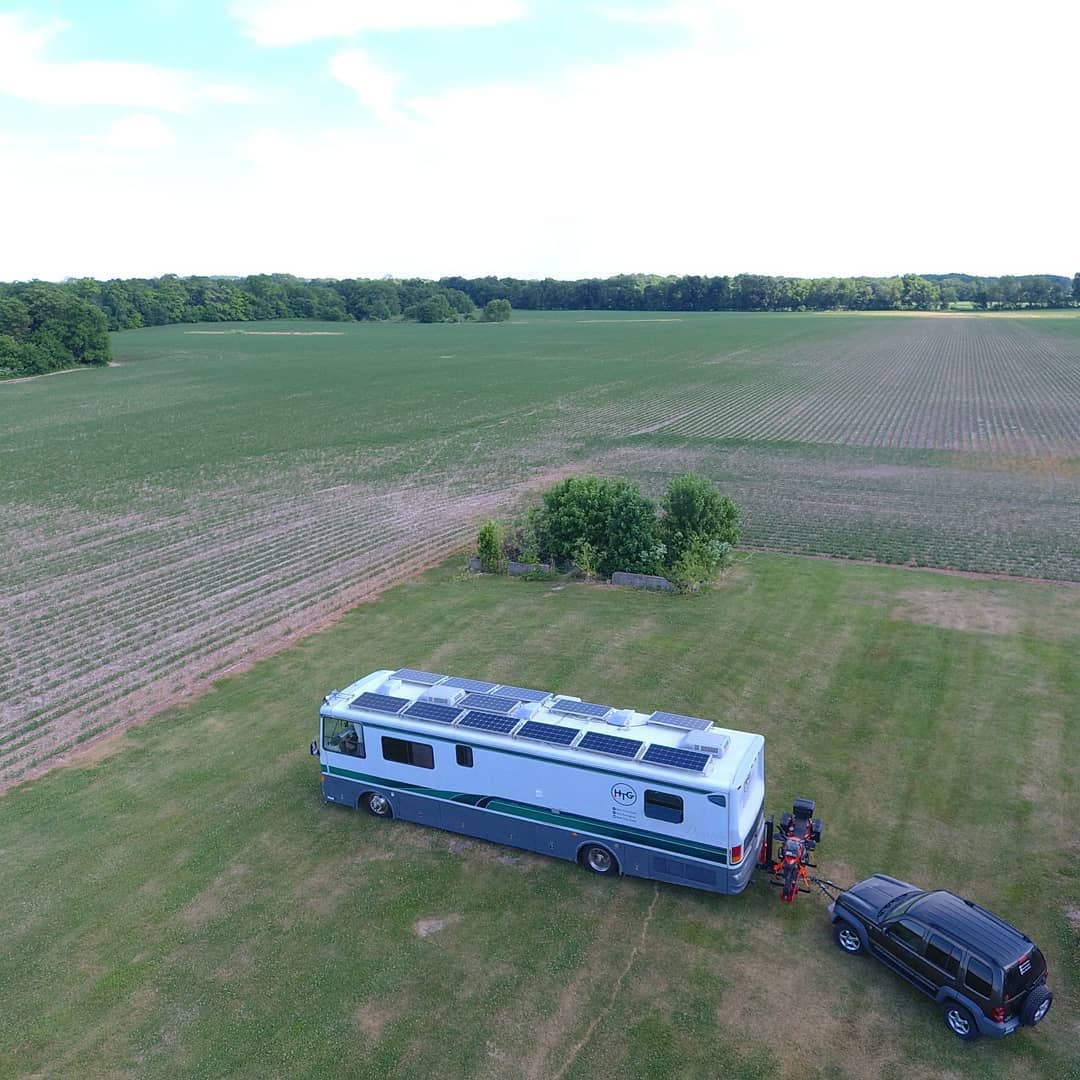
This is the personal rig of one of the owners. It’s a 2000 Country Coach Magna 40ft, that was purchased used in 2022 after a couple years of searching. The Country Coach Magna series was one of the final make/models in the running after ruling out numerous others, based on component quality, construction, and perceived longevity, as well as the maintenance and condition of this particular rig.
Repairs and Maintenance
No 22 year old rig story is complete without at least something breaking. In fact, almost every rig on the road, new or old, has some sort of issue to address.
In this case, the motorhome had been sitting for several months, and had a few chassis issues to be addressed. We lost a hydronic pump shaft seal on the first trip, and leaked some coolant. We were able to limp to a site and order the parts to repair it, fill it, then get to a shop with the proper facilities to flush and replace all the coolant and other fluids.
We had to chase down a few electrical gremlins that impacted the cruise, engine brake, brake lights, and tow lights, but those didn’t take too long.
We replaced the cosmetically great, but dated tires with Cooper Roadmaster RM253 drive tires in the rear, which are a bit more aggressive than conventional RV tires to maximize traction off the pavement, and RM853s in the front in a slightly larger size with higher load rating. This coach had a recall for overloading the front axle where they changed the tire pressure placard, but in 2001 they changed the front tire size altogether. We opted to go to the 2001 spec. The air bags are on the list to be completed in the near future, as they appear to be original.
Staying on top of these things is key to safe travels and long service lives.
Appliances, Energy, and HVAC
From the factory, the motorhome had a propane stove, Sharp convection oven/microwave, double door absorption RV refrigerator, three-way (water, propane, and hydronic) water heater, diesel heat (Webasto hydronic), and heat pumps in the Dometic rooftop units. All of those were still functional and in the rig at the time of purchase. The first order of business was to replace the refrigerator with a 22 cu. ft. residential side by side, matching modern convection oven/microwave, and a 240V induction cooktop. After those changes, the kitchen was all electric, and required 240V AC to operate. All interior ceiling and under-counter lighting was converted to LED about six months prior to purchasing, so we were just had to replace the rope lighting, and a couple missed fixtures with LEDs.


To facilitate an all-electric kitchen, and other demands while boondocking, the decision was made to cover the entire roof in panels and install the largest Lithium bank we could fit in an otherwise unusable compartment in the basement area.

We measured the AC units and built a custom aluminum rack that adds approximately 3/4″ to the overall height, including the mounting of 4,380W worth of REC N-Peak2 panels. In addition to supporting the panels, the rack is an ideal attachment point for antennas, security cameras, and other equipment, while also providing shade for the roof and reducing internal temperatures.
Under the rig in a passthrough bay, we mounted most electrical components on the ceiling so that they are out of the way and the passthrough storage is still effectively usable. A 38kWh 48V battery bank was worked into a space that houses various service components (hydrualic pumps, fuses, transfer switches, etc) in the form of ten SimpliPhi 3.8 batteries, and each of the batteries utilizes an Andersen connector to facilitate easy removal for access to service components.

At the heart of the system is two Victron Quattro 3000/48 inverters, two Victron Autotransformers, and four Victron SmartSolar 150/35 MPPTs with a Victron Cerbo GX and BMV-712. All components can be isolated with MidNite and/or Outback DC breakers for protection and maintenance and are wired using Victron Lynx distributors. The first autotransformer is used to step up the onboard Onan QD8000 120V single phase generator output to 240V split phase, while the second is used to load balance the inverter loads and supply power to a sub panel and distribution box that provides power to the main panel, 240V cooktop, and additional outlets. With the load-balancing AutoTransformer, there is no need to worry which leg a load is on, as a 1000W load on L1 and 3000W load on L2 will simply result in a 2000W load on each of the two inverters.

A stainless cowl with two 120x120x38mm fans on a temperature controller was added to the bay door to shed heat, and a thermostatically controlled 200W ceramic heater was added to maintain bay temperatures in frigid conditions. Additionally, a hydronic heat pump is located in the bay, and provides heat when the diesel heater is running.

With this system, we programmed the inverters to “Switch as a Group” to utilize ESS when on 50A service. In other systems, when using that, we would use an AutoTransformer to step up 120V 15/20/30A service to 240V like we’re doing for the generator here, but in this case decided to go with external chargers due to a few behavioral observations. We added two IOTA DLS-54-13 chargers after the fact which are located on the rear wall of the bay and have their own 15A inlet. They will max out a 15A line and provide 1400W sustained power.
The factory 12V system is still in tact on this bus, including the 4x6V AGM batteries it came with and the Xantrex inverter/charger. Due to the integration with the coach monitoring and other systems, we decided not to remove that at this time. In the future, we have three Victron Orion 48/12-35 units that may be utilized to phase that out.
Even with this much solar and battery, running air conditioning can be a challenge. Each factory AC unit (dual ACs) tend to pull around 1700W from the battery when cooling, and about 350W when running the inside fan on high. We’ve observed that cooling the bedroom at night, for instance, in humid conditions needs the fan to continue running while the compressor cycles on and off, to maintain comfort. Running just the inefficient rooftop bedroom AC twelve hours on battery, with it cycling 50% of the time, uses approximately 12.3kWh of energy (1700W*6h + 350W*6h = 12300W). We can expect the solar panels to harvest anywhere between 20-30kWh on any decent day depending on conditions, so just running AC in the bedroom overnight consumes a considerable amount of the energy brought in.
Note: New rooftop AC units are only marginally more efficient, and it makes little sense to replace these with newer units. A conventional mini-split, like we usually recommend, would be extremely difficult to retrofit on this bus and require mounting the outdoor unit in sight at the back of the rig, which we would like to avoid.
We’re working with Cruise N Comfort to get native 48VDC 12.1K BTU split air conditioning systems for the front and back of the bus, based on their VES ICEBOX series. The condensers and compressors will be mounted up on the roof under the solar panels, while the evaporators will be mounted in upper cabinets and use existing ducting for the OTR AC system in the bedroom and new, custom hidden ducting in the living area. We’re hoping each of the units will pull around 745W in max cooling, and thanks to the variable speed compressors, drop down to as low as 200W/hr overnight on average. If those numerical goals are achieved, the 12.3kWh figure referenced above could be reduced to as little as 2.4kWh (200W*12h = 2400W). Since that sounds a little too optimistic, we’re hoping for an actual reduction of at least 67% (4kWh). Additionally, we are not removing either of the two 13.5K rooftop units, so will have the option of extra cooling on extremely hot days and a four, separate HVAC units to workaround any failures.
The coach is very well insulated which should help, but there is a lot of heatload in the bedroom with two humans, two dogs, and an EightSleep which removes heat from under the covers, and currently exhausts it into the room. One of the upcoming projects is to investigate modifying the EightSleep to exhaust elsewhere.
Water
When it comes to water, this rig has large tank sizes and we decided to remove the electric flush toilet and replace it with a Nature’s Head composting toilet. With no requirement for a black tank anymore, we combined the grey and black tanks for extra capacity. For potable water, we added a Clearsource Ultra Onboard Pro filtration system, an On The Go Double Standard Water Softener, and iSpring UV water softener for the whole house. All components are permanently mounted and do not require manual setup and breakdown when moved.

Portable water bladders and a Milwaukee portable transfer pump are used to bring in additional water when boondocking, without having to move the entire rig. Various quick connects and Zero-G hoses make the process easy.

Connectivity and Entertainment
The old CRTs were removed and replaced with modern televisions, as well as the sound systems and various other electronics throughout the coach.


Removing the bulky TVs gave us a places to mount the Cradlepoint router, Starlink router, Weboost, and various other electronics. External antennas (including the Starlink satellite) are mounted up on the roof and fed in through passthroughs we added for each cabinet.

Diving into connectivity a little more, a Cradlepoint router with Cat18 modem is the heart of the system. The modem supports two SIMs, so we have unlimited AT&T and Verizon SIMs, as well as WiFi as WAN and a WAN port (which connects to Starlink), for a total of four Internet options. The Cradlepoint lets you define failover policies, so we prefer Starlink, then fallback to AT&T, then Verizon, unless a WiFi as WAN policy is specifically defined (we’ve only used that once in over two years). This process is usually automatic and requires no manual intervention when changing locations.
The Starlink dish has traveled on the roof for over 6K miles at the time of writing this, has been hit by numerous small branches, and is still functioning as well as the day it was received with no signs of physical compromise. The external 4G/5G antenna is a Panorama MAKO 4×4, which we believe is the best omnidirectional antenna on the market after trying several high-end models. A WeBoost can be used in edge cases (with internal antennas on the Cradlepoint), but is rarely necessary as a last resort. Cell phones are configured for WiFi calling.


